In This Article
Why This Recipe Works
- Parboiling the potatoes roughs up their surfaces, creating a starchy paste that turns shatteringly crisp in the oven.
- Shaking the drained potatoes in the pot creates maximum surface area for crunch.
- Preheating the baking sheet with fat ensures the potatoes sizzle the moment they hit the pan.
- Yukon Gold potatoes offer the best balance of fluffy interior and crispy exterior.
Let's be honest: most roasted potatoes are forgettable. They arrive at the table pale, soggy, and somehow simultaneously undercooked in the center and dried out at the edges. They're the afterthought of the meal, the thing you push around your plate while focusing on the main dish.
But great roasted potatoes? Great roasted potatoes are a revelation. They crackle when you bite into them, giving way to a fluffy, steamy interior that tastes like the essence of potato. They're the kind of side dish that upstages the main course, and once you master the technique, you'll never go back to tossing raw chunks of potato into a pan and hoping for the best.
Why Most Roasted Potatoes Disappoint
The problem with most home-cooked roasted potatoes is that they skip the most important step: parboiling. When you put raw potato chunks straight into the oven, several things go wrong. First, the surface of the potato is smooth, which means there's nothing for the fat to cling to and no starchy paste to crisp up. Second, the exterior dries out and becomes leathery rather than crispy. Third, the inside often overcooks before the outside has a chance to brown properly.

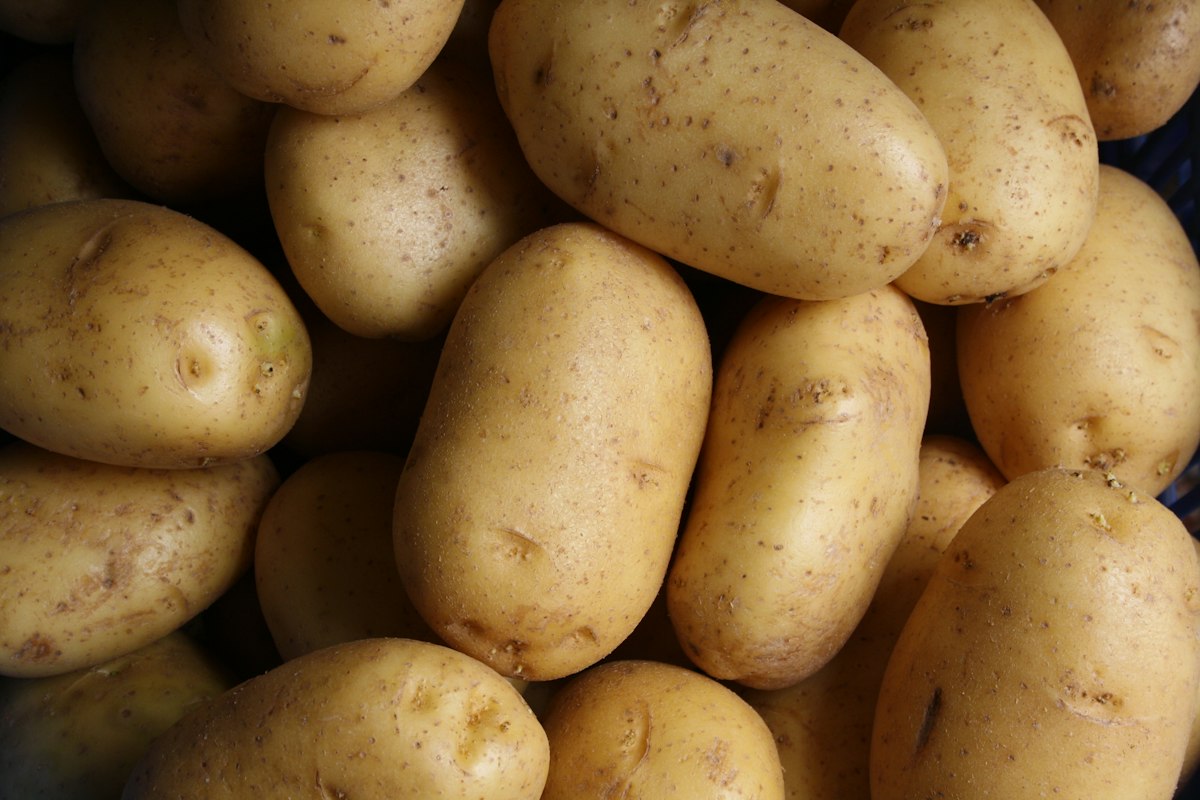
Flavor Quest / Photo by Jen Carter
Professional kitchens have known the solution for decades. The trick is to parboil the potatoes first, then rough up their surfaces before roasting. This creates a layer of starchy mush on the outside that fries into a crisp shell in the hot oven fat. It's the same principle that makes great french fries: a starchy exterior that crisps beautifully, surrounding a soft, fluffy interior.
The Rough-Edge Technique
Here's where the magic happens. After parboiling your potatoes for about 10 minutes, drain them in a colander. Then—and this is the critical step—shake the colander vigorously. Not a gentle toss. A real shake. You want the potatoes to bash against each other and the sides of the colander, creating a rough, mashed-up surface.
What you're looking for is a layer of starchy paste coating the outside of each potato chunk. It should look almost like mashed potato smeared over the surface. This paste is what will transform into the crispy, crackling shell in the oven.
Choosing the Right Potato
Not all potatoes are created equal when it comes to roasting. The three main categories—starchy, waxy, and all-purpose—each behave differently in the oven.
Starchy Potatoes (Russets)
Russets have a high starch content and low moisture, which means they fluff up beautifully inside. However, their surface can become too crumbly when shaken, and they tend to absorb a lot of fat. They're great for baked potatoes and fries, but for roasting, they can fall apart.
Waxy Potatoes (Red Bliss, Fingerlings)
Waxy potatoes hold their shape beautifully, but their low starch content means they don't create that crispy exterior. They'll roast up firm and creamy, but never truly crispy. They're better suited for potato salads.
All-Purpose Potatoes (Yukon Gold)
Yukon Golds are the sweet spot. They have enough starch to create a crispy exterior, but enough moisture and structure to maintain a fluffy, creamy interior. They're our go-to for roasted potatoes, and they're what we use in the recipe below.
The Fat Makes the Difference
The fat you choose for roasting matters more than you might think. Olive oil is the classic choice, and for good reason—it has a clean flavor that lets the potato shine, and its smoke point is high enough for roasting at 425°F (220°C).
But if you want to take things to the next level, consider using animal fat. Duck fat, beef tallow, or even bacon grease will add a rich, savory depth that olive oil can't match. The potatoes will taste like the best version of themselves—deeply browned, intensely flavorful, and impossibly crisp.
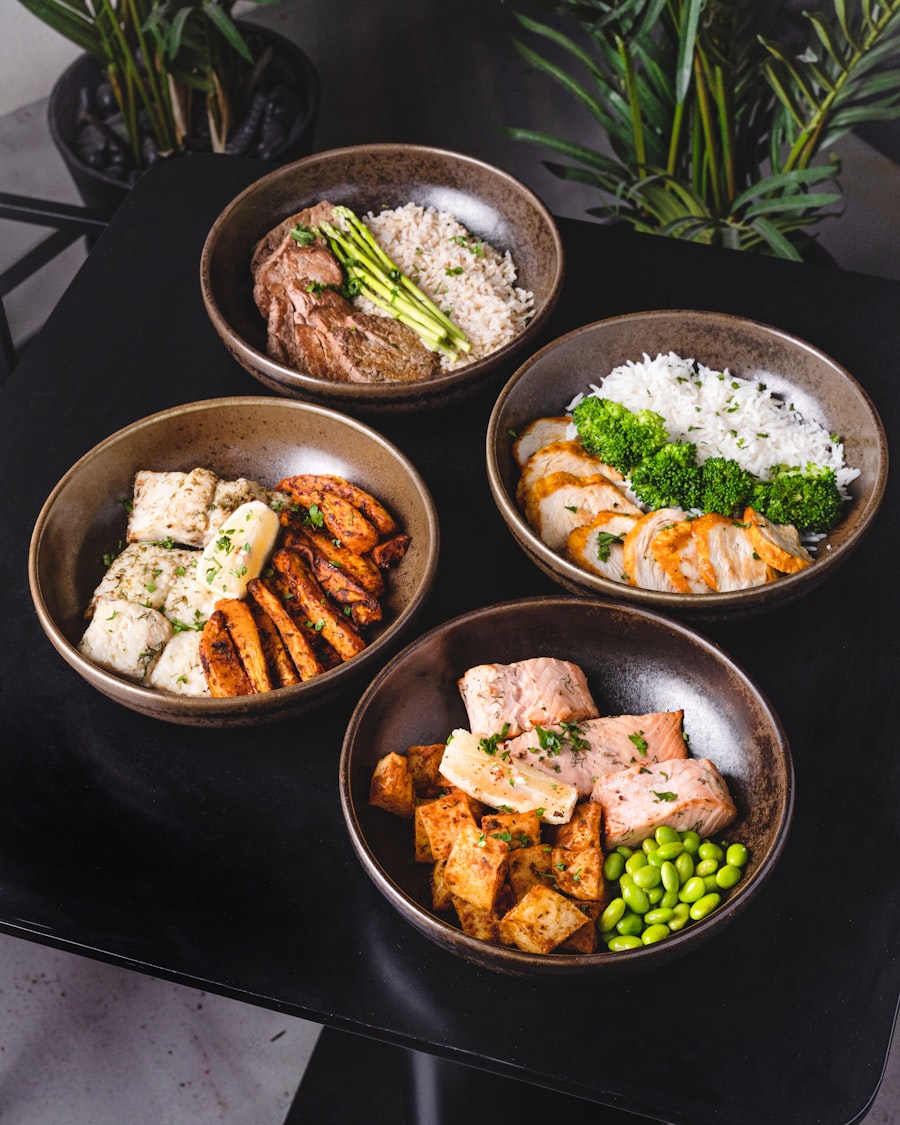
The finished product: golden, crisp, and irresistible.
Crispy Roasted Potatoes
Ingredients
- 2 pounds (907 g) Yukon Gold potatoes, peeled and cut into 2-inch chunks
- 1 tablespoon kosher salt, plus more for seasoning
- 1/4 cup (60 ml) extra-virgin olive oil, duck fat, or beef tallow
- 3 cloves garlic, smashed but not peeled
- 2 sprigs fresh rosemary
- 2 sprigs fresh thyme
- Freshly ground black pepper, to taste
- Flaky sea salt, for finishing
Directions
- Adjust oven rack to center position and preheat oven to 425°F (220°C). Place a large rimmed baking sheet in the oven to preheat.
- In a large pot, combine potatoes, 1 tablespoon salt, and cold water to cover by 1 inch. Bring to a boil over high heat, then reduce to a simmer. Cook until potatoes are just tender and a paring knife meets slight resistance when inserted into a chunk, about 10 minutes.
- Drain potatoes in a colander. Shake the colander vigorously to rough up the potato surfaces. They should look mashed and slightly crumbly on the outside. Let potatoes steam dry for 5 minutes.
- Carefully remove the preheated baking sheet from the oven. Add the fat and tilt to coat the pan. Add the potatoes in a single layer, turning to coat with fat. Add garlic, rosemary, and thyme sprigs.
- Return to oven and roast for 20 minutes. Use a thin spatula to loosen and flip the potatoes. Continue roasting until deeply golden brown and crisp on all sides, 20 to 25 minutes longer, flipping once more halfway through.
- Remove from oven. Discard garlic skins and herb stems. Season generously with salt and pepper. Transfer to a serving dish and finish with flaky sea salt. Serve immediately.
Notes
For extra-crispy potatoes, let the parboiled potatoes dry in the colander for 10 minutes instead of 5. The drier the surface, the crispier the result.
Duck fat can be found at specialty grocers or online. It makes a noticeable difference in both flavor and crispiness.
Make-Ahead and Storage
Parboiled potatoes can be prepared up to 1 day in advance. Store them in the refrigerator, uncovered, on a wire rack set over a baking sheet. The dry surface will actually roast even better.
Leftover roasted potatoes can be stored in an airtight container in the refrigerator for up to 3 days. Reheat in a 400°F oven for 10-15 minutes to restore crispness.
Nutrition Facts (per serving)
Why This Recipe Works
The secret to ultra-crispy roasted potatoes lies in a technique called "roughing up." After parboiling the potatoes, we shake them vigorously in the pot. This creates a starchy paste on the exterior that turns into a glass-like crust when roasted at high heat. The interior, protected by the starch barrier, steams to a fluffy, cloud-like consistency.
We also use duck fat instead of olive oil. Duck fat has a higher smoke point and adds a rich, savory depth that olive oil can't match. If duck fat is unavailable, goose fat or beef tallow are excellent substitutes. Avoid vegetable oil—it won't produce the same crackling texture.
Pro Tips
- ✓ Use Yukon Gold or Maris Piper potatoes for the best balance of fluffy interior and crisp exterior. Avoid russets—they're too starchy and can fall apart.
- ✓ Don't skip the salt in the parboiling water. It should taste like the sea. This seasons the potatoes from the inside out.
- ✓ Preheat your baking sheet in the oven. When the potatoes hit the hot metal, the sizzle begins immediately, jumpstarting the crust.
- ✓ Give the potatoes space. Overcrowding the pan creates steam, which is the enemy of crispness. Use two pans if necessary.
- ✓ Flip once, halfway through. Resist the urge to constantly check or stir—each flip disrupts the crust formation.
Common Mistakes to Avoid
- ✗ Cutting potatoes too small. Pieces under 1.5 inches will overcook during parboiling and turn to mush.
- ✗ Using wet potatoes. After parboiling, drain thoroughly and let them steam dry for 2-3 minutes before roughing up.
- ✗ Roasting at too low a temperature. Below 425°F, the potatoes will dry out without crisping.